|
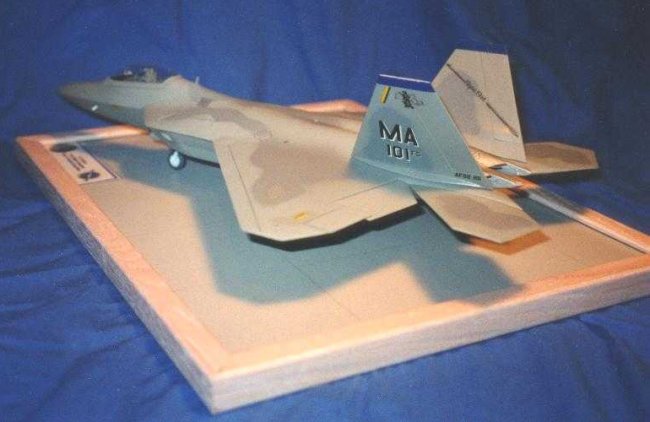
The kit is the 1/48th
scale Italeri F-22A Raptor. Other than Fine Scale Modeler, I have only seen 2 of
these built in either 1/48th or 1/72nd scale. I'm not sure
why - perhaps because it’s a tough build in some spots or it isn't operational
yet so markings aren't available commercially. I made it at the beginning of
this year and it took me about 18 hours to build.
After I delivered an F-15 to
the Commander of the Massachusetts Air National Guard in the markings of the 102nd
Fighter Wing, we discussed making a Raptor in the same markings (geez, does this
guy use any other markings on his models!). Naturally, they would be speculative
and would be for the 101st Fighter Squadron. My hope was that maybe
they would adopt the markings if and when they ever get the real plane. If they
get it, it probably won't be for another 10 plus years.
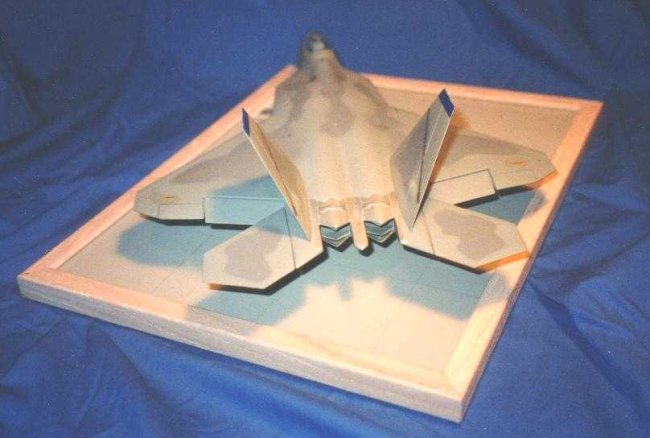
I had read about the difficulty
in either having the bays open or closed, so I knew I was in for some work
having them closed. The doors have a saw-tooth pattern, and are designed to be
open. Getting them to fit was difficult and required a lot of filler. They came
out OK. I didn't worry about the bottom bay because the model would be fixed to
a base. At least I added 6 nice AMRAAMs to my spares box!
The biggest challenge was
mating the forward and rear fuselage assemblies. If I build one again, I will do
it differently. What I did was mate the top and bottom rear fuselage parts
first. I then tried mating the front fuselage. This results in a huge gap along
the top from side to side. It was at least an 1/8th of an inch. What
I should have done was mate the front fuselage with the top of the rear, make
sure the seam was minimal, and then attach the bottom rear. It literally took me
about 8 hours to fill the seam. I first used strip styrene to fill the major
portion, and then tried superglue and putty. Over-sanding created a trough that
then had to be corrected. After this, I contemplated getting another kit and
starting all over again. I stuck with it and the seam is only noticeable in
certain lighting and angles.
The exhausts were also a
challenge. Many small parts are used to build a wall inside the rear fuselage.
It's tricky and the instructions don't know show it very well.
Paint recommendations are
incorrect for the colors. This is pointed out in the FSM review. It's the same
as the MOD Eagle color pattern. I made camo masks by enlarging the instruction
sheet on a copier. I then cut out the darker area, applied to model and painted
the darker area. It's a much easier camo pattern than the F-15s I have been
making.
Tail markings are from the
Experts Choice sheet (I can't have enough of these in stock!) and spare letters
and numbers. The blue band is solid sheet. Seeing there are no external tanks on
the plane, I placed the harpoon and Cape Cod logo at an angle inside the tails.
I placed the squadron and wing badges on the forward fuselage.
The finished product looks
impressive, and I think would look good in other speculative markings. Next
time, I will know how to work around some of the fit problems.
Ken
(click on
the image below to load the full size photo)
(use your
back button to return to this page after viewing full size photo)
|